✍️
Note
Heads up! Phase gets little updates and improvements all the time. Our tutorials might be a tad different from the current app.
Dashboard
Welcome to the command center of Phase – the Dashboard! This is the entry point in Phase and the place where we can manage all of our files, projects, teams and user preferences.
Dashboard Interface
The Dashboard
The Phase dashboard is our starting point, where we handle files, projects, teams, and preferences. From here, we can import Lottie files, SVGs and images. It's not just a dashboard; it's our launchpad to so many design possibilities.
Let's take a look around and get familiar with our surroundings. We'll start by figuring out how to organize and access all of our files in Phase.
File Management
In Phase, keeping track of what's going on with our files is super easy.
Backwards Compatibility
With each new Phase release, users can open older files worry-free knowing that animations and prototypes will render as intended. We ensure backwards compatibility so designers can focus on designing, not unexpected breaks.
User Avatars
For more transparency on who's doing what, just glance under any open file. This is where user avatars display who's actively working on the file at the moment. It's an easy way to stay in sync without having to say a word.
When a collaborator pops in to work on a file, the collaborator's avatar will appear next to ours. Once the collaborator leaves, the avatar becomes muted. It's a simple way to track who is coming and going in real-time.
Drafts, Archive and Shared Folders
Browsing Folders and Creating a New Projects Folder
In Phase, design organization revolves around three key folders: Drafts, Archive, and Shared.
- Drafts: This is where all our files are displayed, providing an easily accessible space for ongoing projects.
- Archive: Archived files are housed in this section, ensuring a convenient location for accessing stored designs.
- Shared: Files shared with us by other Phase users are automatically stored in the Shared folder.
Customize workspace with personalized Projects folders by clicking the + button, naming the project in the pop-up window, and then clicking Create or Cancel. Easily switch between folders on the Dashboard to streamline workflow, starting with empty folders for new accounts.
User Options

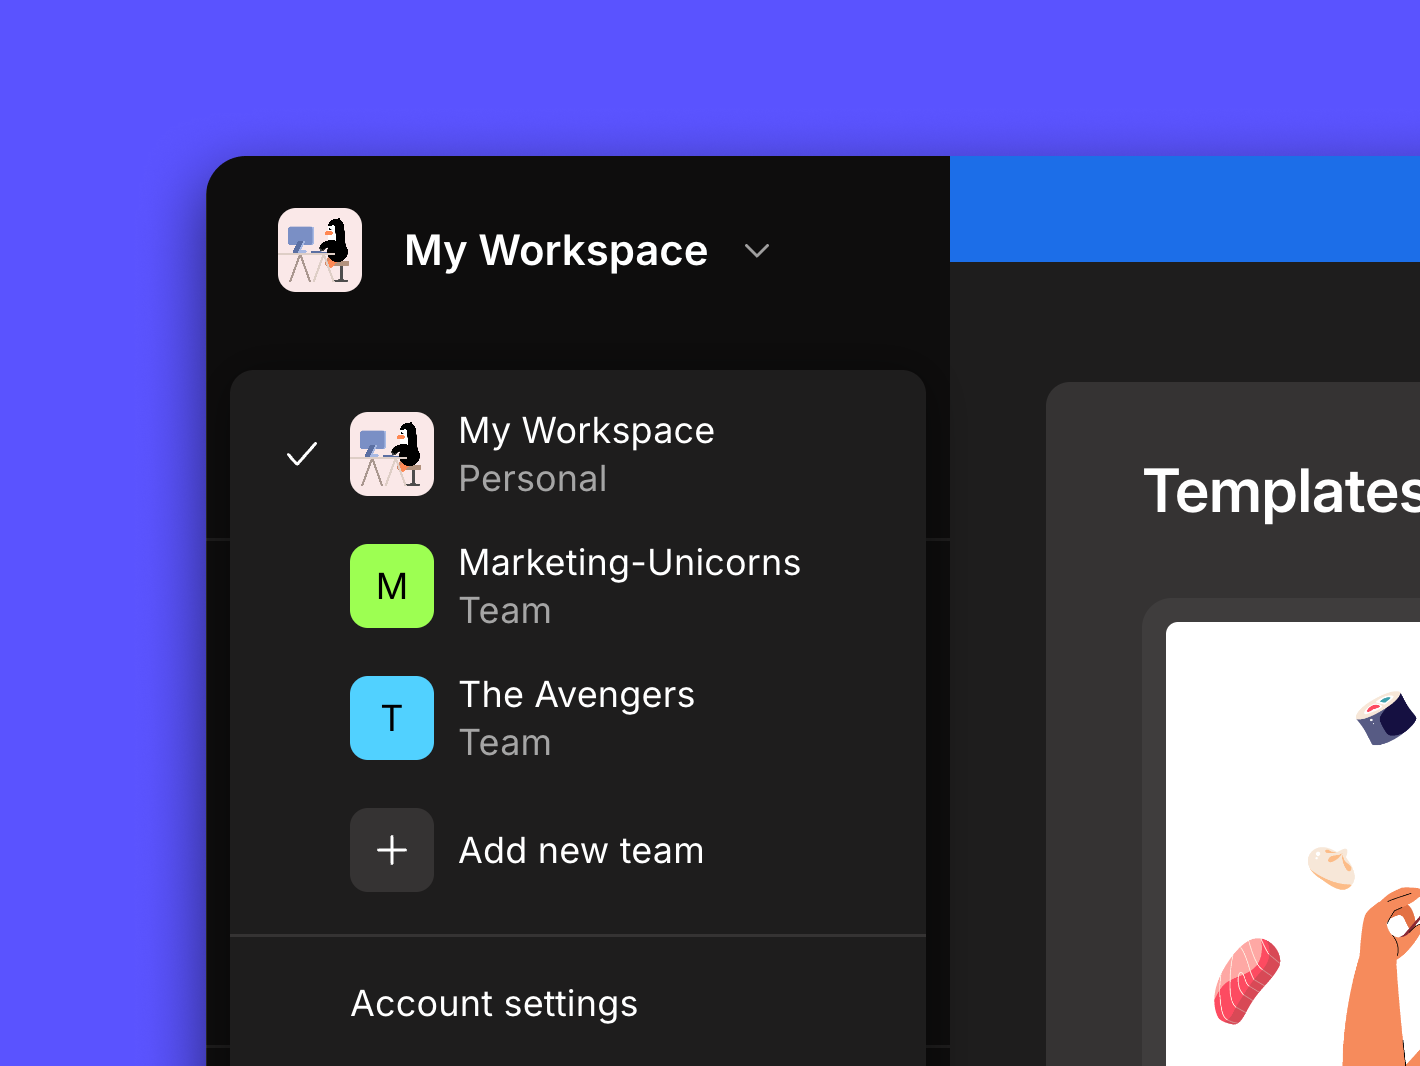
Located in the top left corner of our dashboard is our user profile. Click on it to access the option for adding a new team or adjusting existing team settings. This feature allows us to seamlessly switch between user profiles as needed, providing flexibility in managing our workspace.
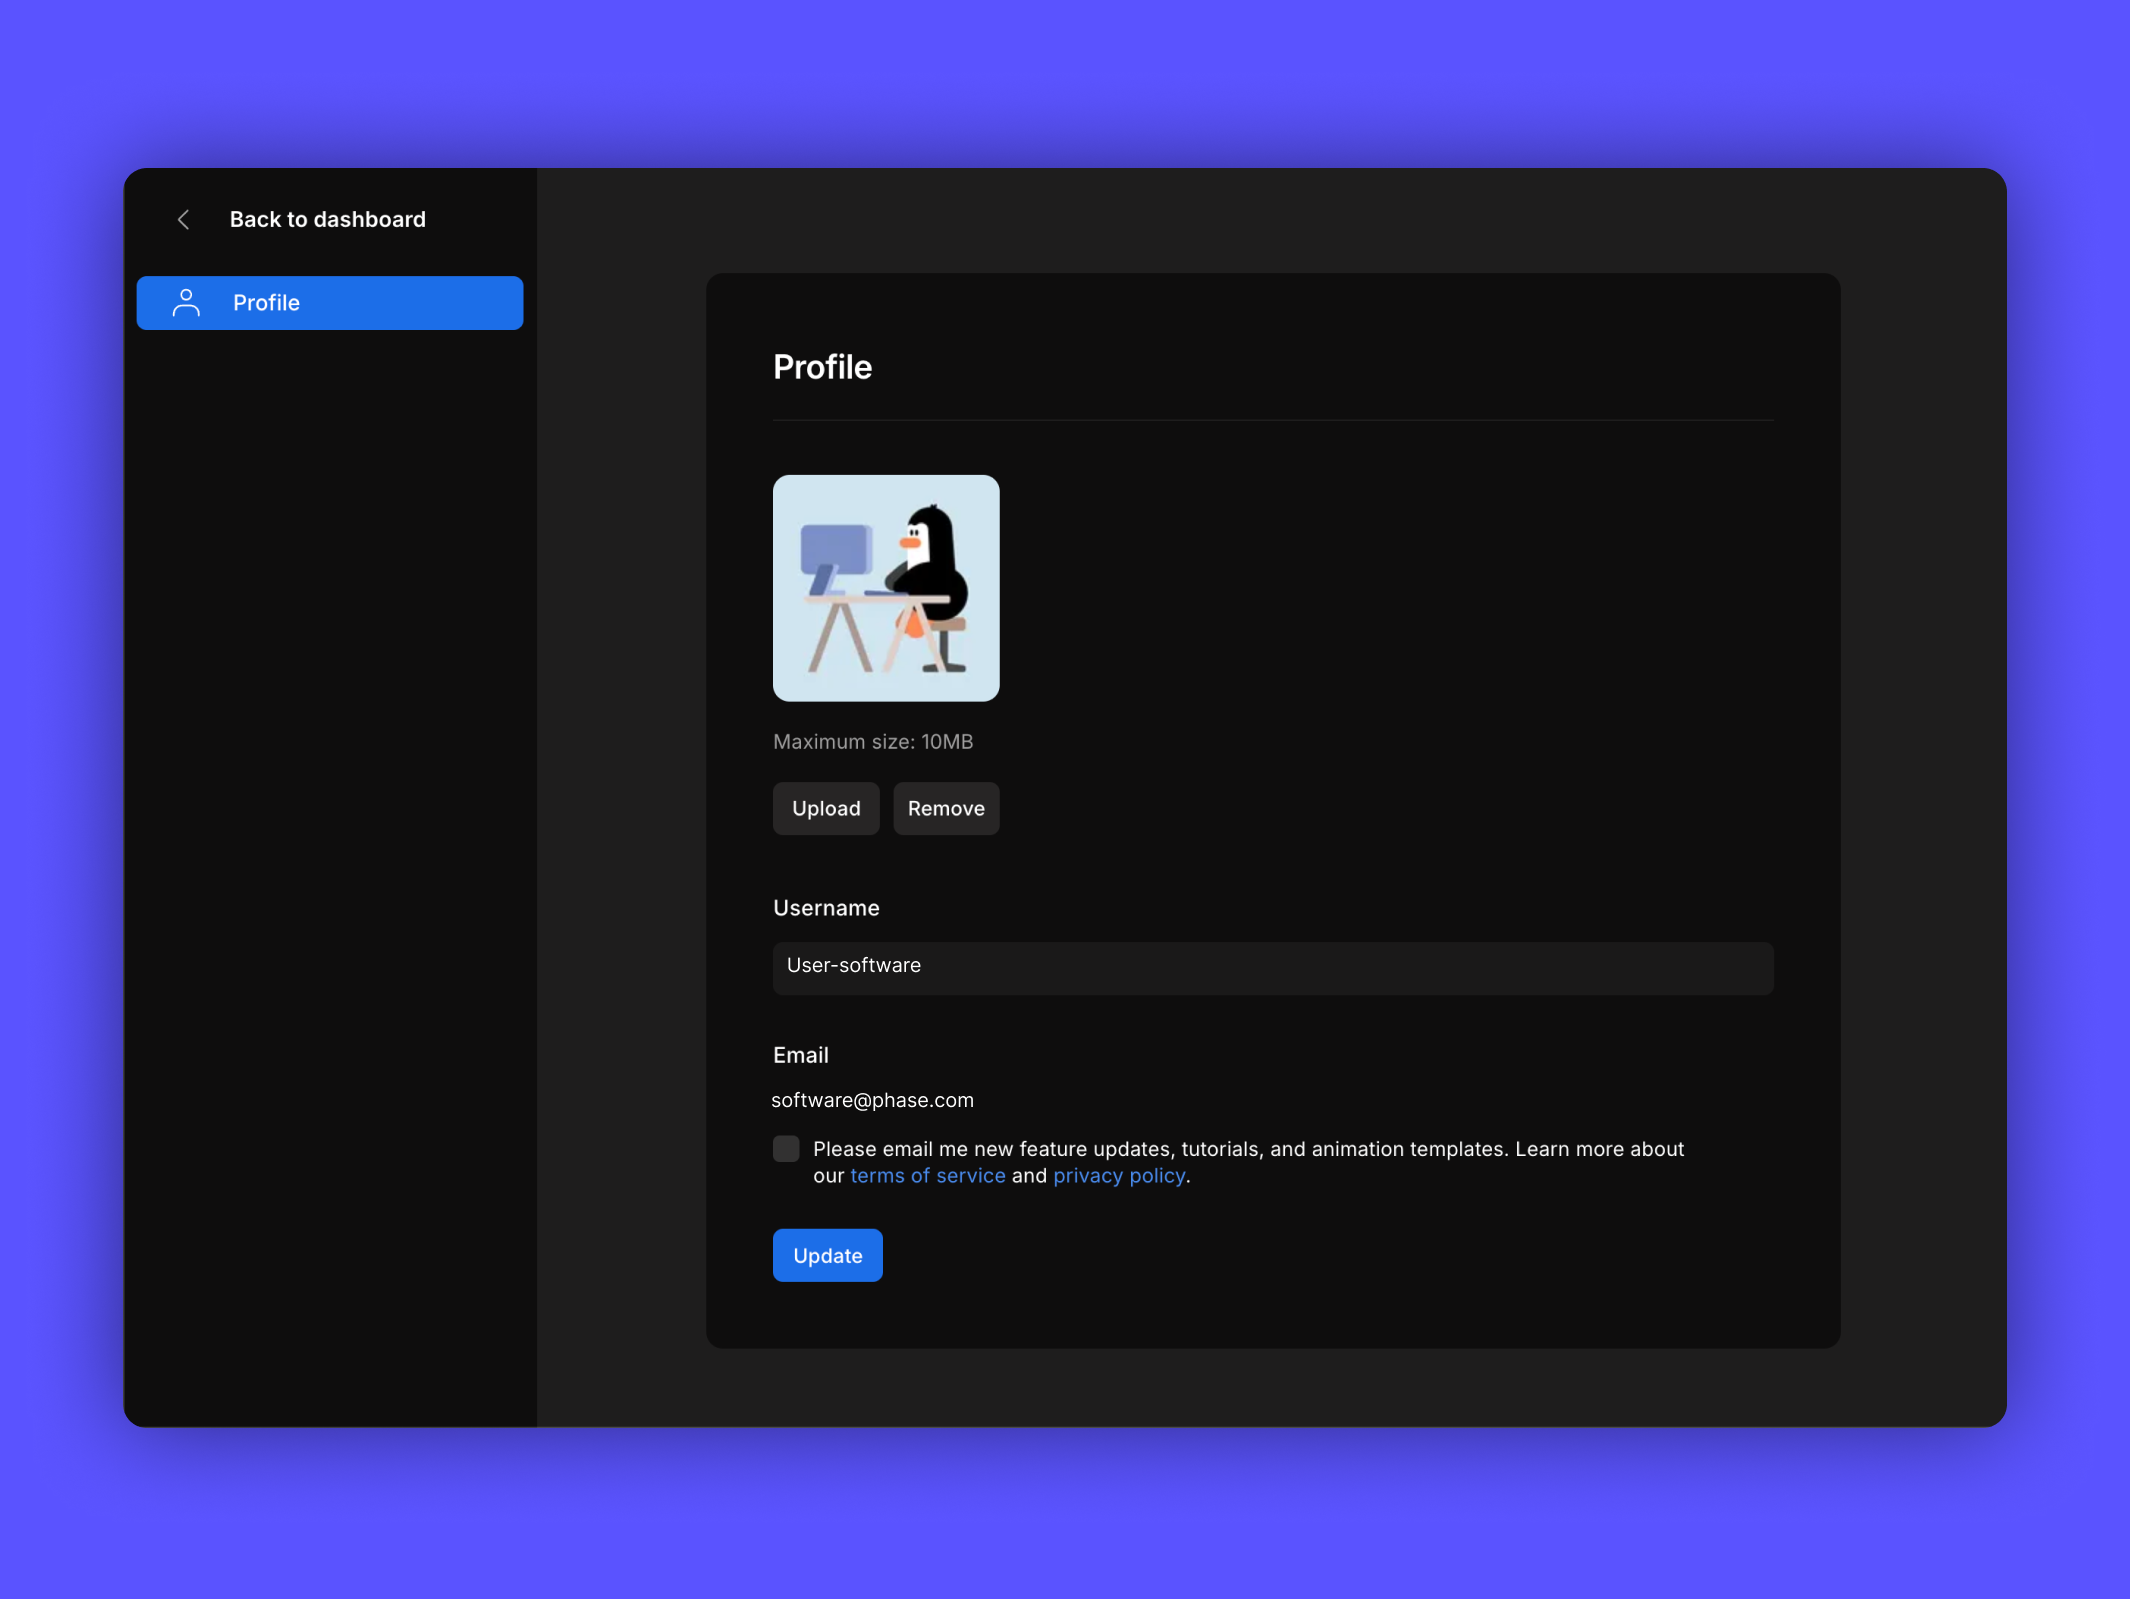
Navigate to the bottom left corner and click on Account settings. We'll be taken to the profile screen, where we can personalize different options.
On the profile screen, we have the option to upload an Avatar or delete an existing one by clicking "Remove Photo." We can also change our Name, but please note that our Email address is permanent and cannot be modified. To save the changes, click "Update Profile" at the bottom of the screen. Once done, return to the Dashboard.
To sign out, all we have to do is open account settings and select "Sign out" in the bottom left corner.
Sorting and Searching for Files
Changing File Sorting and Searching For a File
By default, files will be arranged by the last viewed date. We can further personalize our dashboard by changing this. They can either be sorted by last viewed, last modified, date created or alphabetical order.
If we can't locate our files, we can use the search bar above the file gallery to find a file by its name.
Importing & Creating Files
Let's amp up our designs in Phase by importing SVG and Lottie files. It's a breeze – simply tap Import, select your file, and boom! A new draft pops up with the animation, ready for us to tweak and refine.
📖
Read More
Read our article on Import to get the lowdown on how importing works.
Account Settings

The profile screen shows customization options. Upload an avatar or delete the current one by tapping Remove. We can change our name but not email address.
Phase now supports multiple languages. To switch languages, navigate to the account settings and select your preferred language.
Click "Update" at the bottom to save changes.
Start Animating
Get Started with Our Free, Web-Based Platform.
Learn
© Phase Software GmbH 2025