✍️
Note
Heads up! Phase gets little updates and improvements all the time. Our tutorials might be a tad different from the current app.
Origin
Every shape has a point that determines its actual location on the canvas. By default, the Origin is at the center of the shape, which is fine in most cases. This article shows what can happen if we decide to shake things up a bit and move that point. In Phase, rotating a shape around an arbitrary point is possible.
✍️
Note
This article assumes that we know the basics to animation, keyframes, and interpolation, which we described in the Animation article.
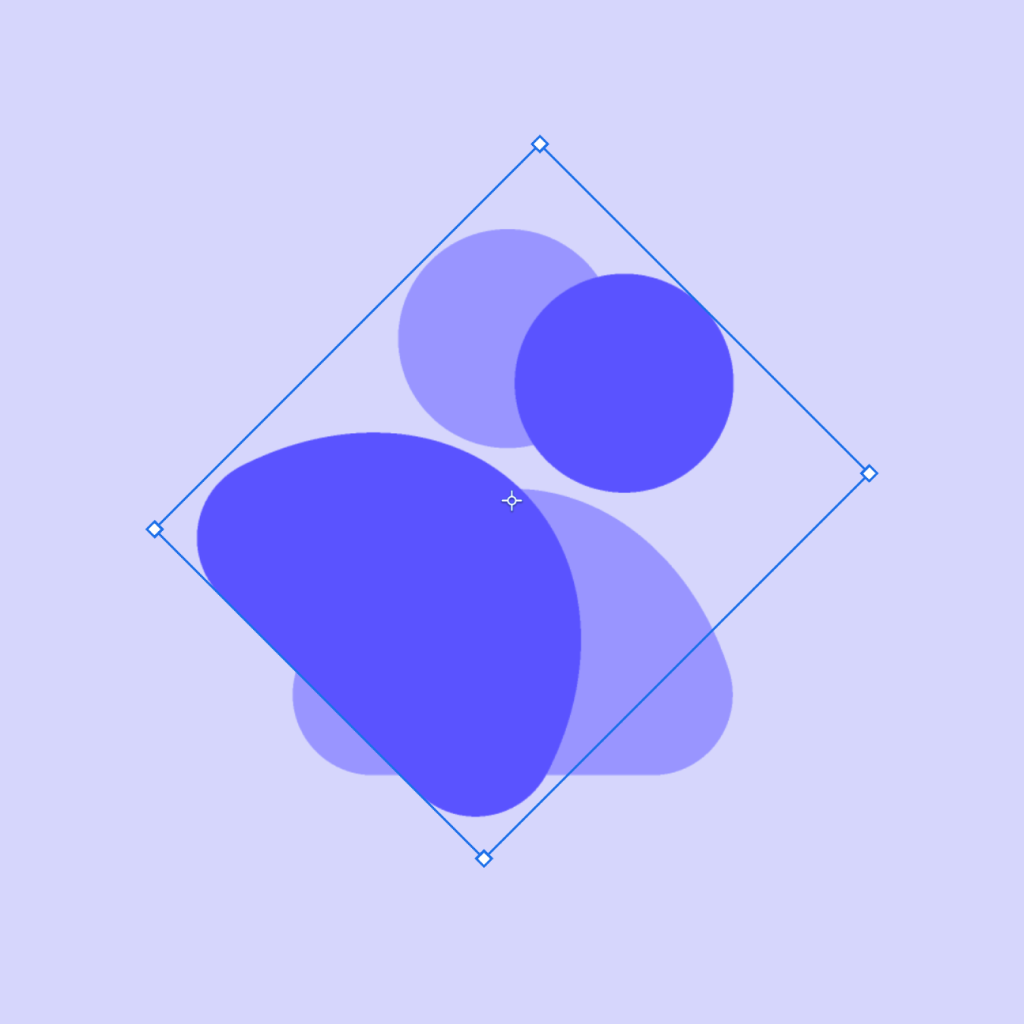
Changing the Origin Point
Adjusting the origin point and demonstrating its impact on the element
In Phase, we can adjust the origin point of our elements easily. When working with smaller elements, we don't have to worry about accidentally moving the origin point thanks to Origin mode. Here's how it works:
- Select the shape we want to modify.
- Click Edit Origin in the Properties Panel to reveal Origin settings.
- Select any point in the 9-circle grid to set as the new Origin point.
- When done, click the 'Exit Origin Mode' mode button or press .Y
We can adjust the Origin proportionally to the shape’s size. The 9-circle grid offers shortcuts to change the Origin to edge points of the shape, or to the center, which is the default.
Alternatively, we can create an Origin point outside of our shape. To do this, manually move the Origin point by dragging the crosshair indicator to any position on the canvas. The X- and Y-values on the side can be changed to fine-tune the Origin point.
Negative values, and values greater than 100%, are possible. The drop-down box allows you to change to Pixels adjustment instead of Percentage. With pixels, we can assign an exact location which may be useful depending on our design.
Origin Effects
Adjusting the Origin offsets the shape from the center when making any other changes to a property. Here are a few examples to show that occurring.
Rotation
Normally, the pivot point of rotation is the center of the shape - Origin at <X=50, Y=50>. If we add any rotation, the object turns like a pinwheel. Below, we can see what 30° rotation would do to this object.
 |  |
Meanwhile, if we move the Origin point to a side, the object will pivot more like a hinge. In this case, the same 30° rotation was applied to the object with an Origin point set at <X=10, Y=90>, so very near the bottom left.
|  |
Scale
When an object scales in the center, it expands in each direction equally. In this example, the X dimension was scaled 200%, while the Y dimension was left to 100%.
|  |
If the Origin is not in the center, the scaling expands opposite to the offset point. In this case, the Origin is set at the same place as the previous example, <X=10, Y=90>. As it expands, the object seems to step to the right side, but the left portion is still planted at the Origin point.
|  |
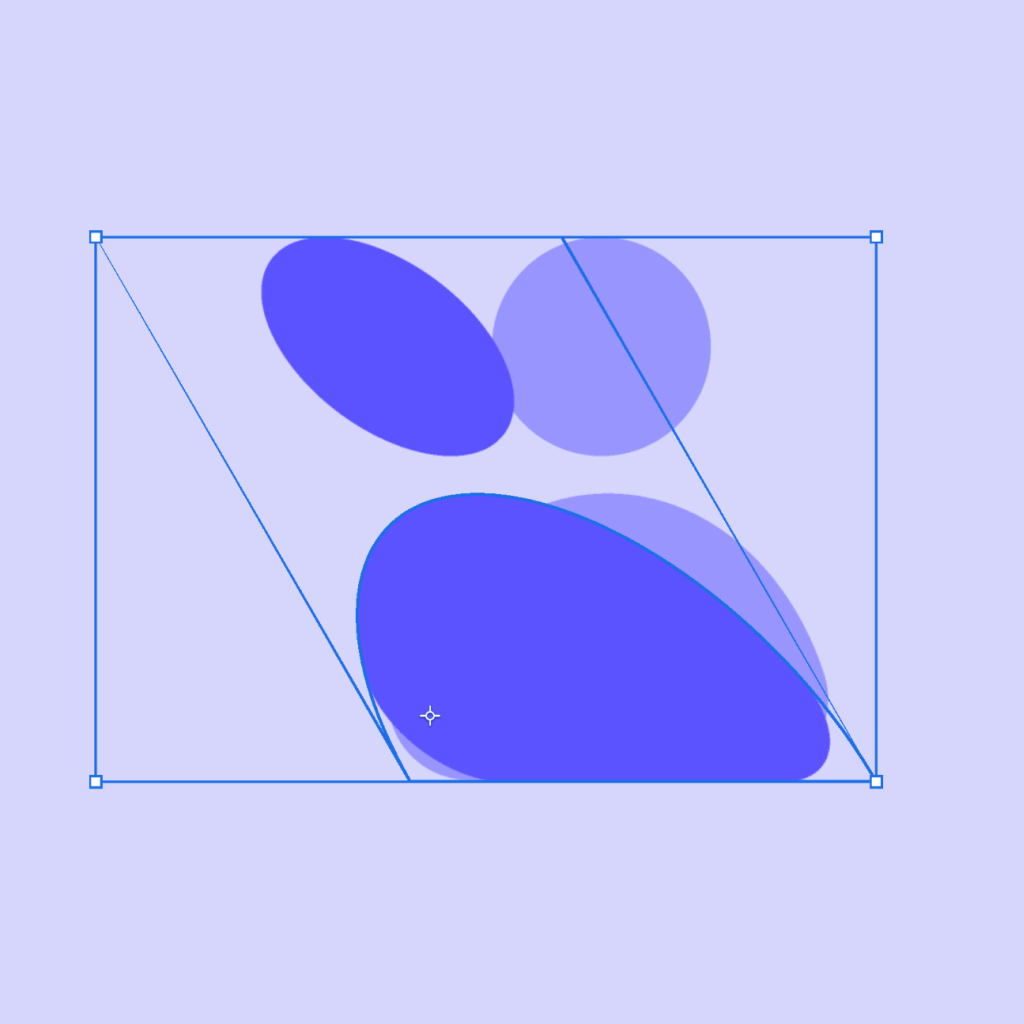
Skew
Slanting an object will normally result with the top moving to one side, and the bottom moving to the other side, both equally.
|  |
By positioning the Origin close to the aforementioned corner <X=10, Y=90>, the skew angle is now also very close to its pivot point. This makes the icon seem to lean to the side, rather than the entire object getting slanted.
|  |
Offset Origin Animation
Rotating Element With The Origin in The Center
In a static design, the positional aspects of the Origin can be accounted for by just changing the location of the shape.
However, the real place where Origin adjustment shines is in Animation. By having a different Origin location, we can quickly create interesting effects that would be time-consuming to set, because it may require frame-by-frame positioning.
In the animation above, we have a design where a hammer is about to strike a ball.
We would like to apply a rotation to the hammer, but with the Origin placed in the center, the animation just spins. We would have to change the position many times to achieve a natural hammer motion.
Here’s how we can solve these challenges by animating with the Origin:
Hammer Striking After a Ball After Adjusting Origin
- To make the hammer pivot off of its handle, we positioned the Origin beneath the hammer at X=50, Y=100. This allows for seamless rotation, while negating the need for positional tweaks.
- Similarly, to stabilize the ball and make it grounded while being squished, we placed the Origin near the bottom of the ball at X=50, Y=80.
- To make the sides of the hammer squish inwardly, we actually didn’t need to modify the Origin at all. Instead, we placed both sides of the hammer in a group, and used the default center of X=50, Y=50. That way, both sides would squish toward the center when the hammer strikes.
Start Animating
Get Started with Our Free, Web-Based Platform.
Learn
© Phase Software GmbH 2025