✍️
Note
Please note the app interface may change slightly due to improvements like showing collaborators' cursor movements and selection highlights in real-time, and enabling view-only users to view files in Design mode.
Containers
A Container is an element that groups multiple objects or shapes, allowing us to manipulate and animate them together as one unit.
Grouping Containers
Grouping Elements Into Containers
- Let's start by selecting the shapes that we want to group together. There are a few ways to do this. We can either click on the items in the layer panel while holding to select multiple layers consecutively or hold⇧ Shiftto individually select or deselect items. We can also drag-select on the canvas while usingCtrlorCommand ⌘to add or remove them.Command ⌘orCtrl
- Elements can be moved in and out of Containers by selecting them and dragging them around in the layer panel.
- Right-click on any of the items.
- Click Group. Alternatively, we can draw a selection box around our elements and press orCommand ⌘G.CtrlG
After making the group, a container will be added to the layer panel, and all of the selected elements will be moved underneath it like a folder.
The element Properties panel opens when we select that container. A bounding box is placed around all the grouped elements, and that box becomes the basis for the length, width, and location for the container. We can resize and move that box independently of the inside shapes, and change its color, borders, and shadows.
Ungrouping Containers
Ungrouping a Container
Shapes can be moved in and out of Containers by selecting them and dragging them around in the layer panel. This can be a way to change which group the shapes are in, or to ungroup them.
Similar to grouping shapes together, ungroup shapes through the context menu.
- We select the container that we want to ungroup the items in. Click on the container in the Layer Panel, or on any of the grouped shapes in the canvas.
- Right-click on any of the items.
- Click Ungroup. Alternatively, we can draw a selection box around your elements and press on Mac, orCommand ⌘⇧ ShiftGon Windows.Ctrl⇧ ShiftG
Creating Containers
Adding Elements Into a Container.
Containers can be made individually before adding shapes to them. The process for doing so is very similar to creating a rectangle.
- Select the container icon from the shapes dropdown menu.
- Click on an area on the canvas to start, and let's drag in the direction we want to expand the container toward. We can give our container equal dimensions like a square by holding while dragging.⇧ Shift
As our container gets made, the element Properties panel opens.
📖
Read More
Learn how to customize Containers by reading about the Properties Panel.
Applying Changes to Containers
With containers selected in the Layers Panel, we can apply edits like individual elements.
By right-clicking, we can cut, copy, paste, duplicate or delete. We can also reposition with bring to front, send to back, move forward or backward. Additionally, we can group/ungroup containers, show/hide them, and lock/unlock them.
Overflow
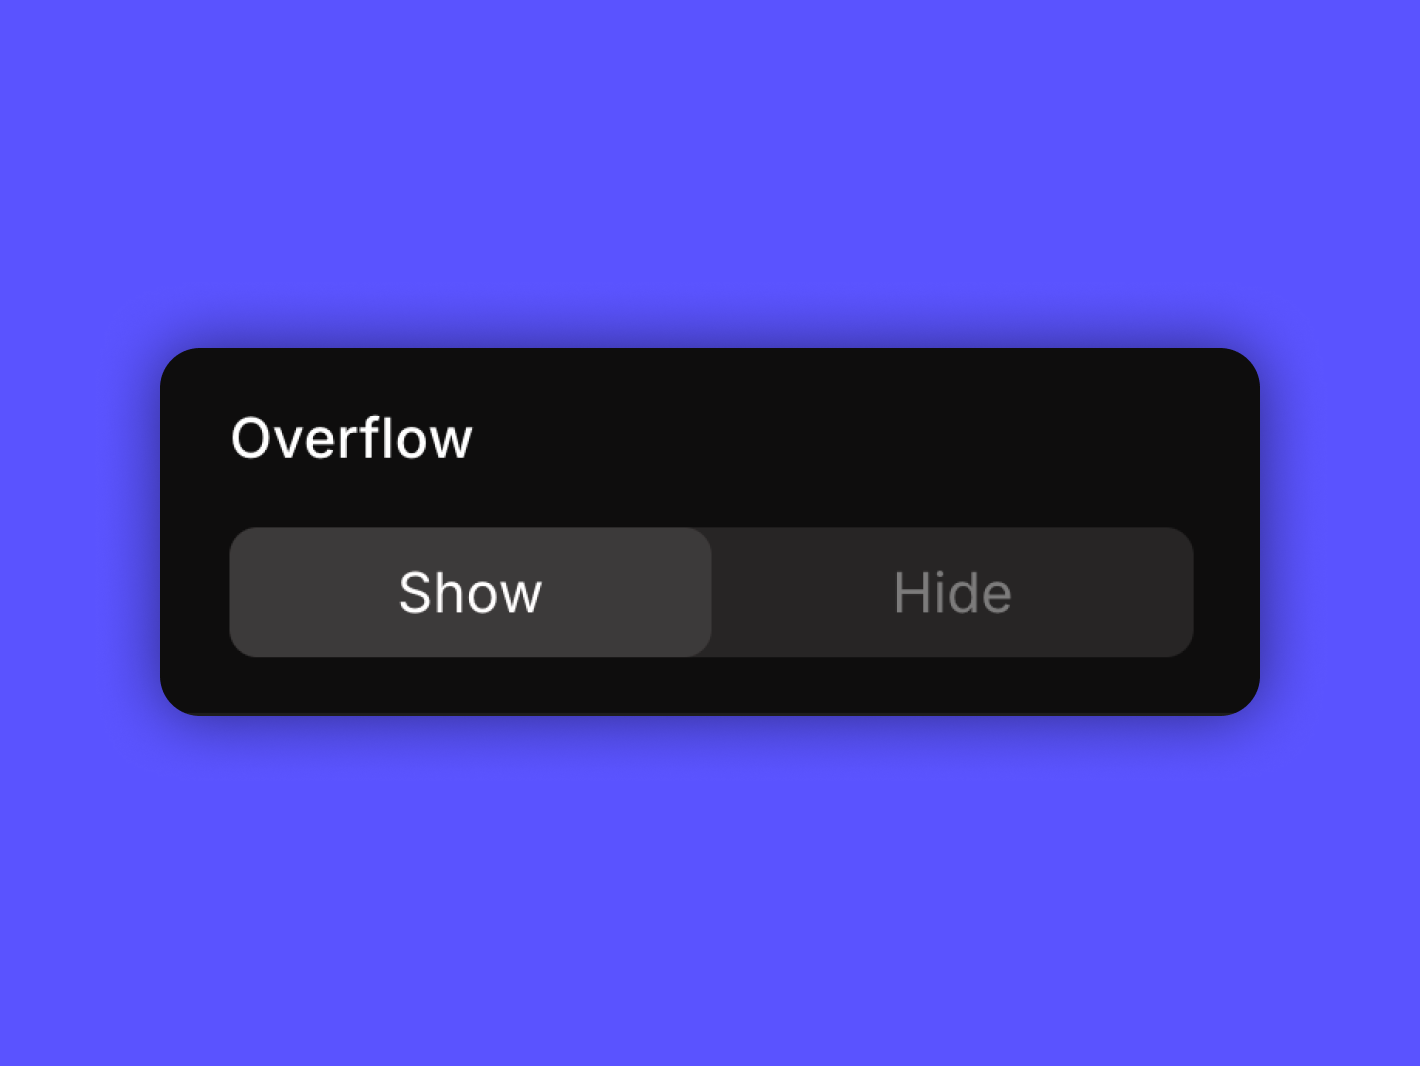
The overflow function controls the visibility of objects that extend beyond a container's boundaries in Phase. Toggle between "Show" or "Hide" settings in the Properties Panel.
When enabled, "Show" makes any elements inside a container remain fully visible even if they spill outside its borders. This allows shapes, images, text frames and other objects to visually break out without cropping or masking.
"Hide" instead causes anything extending past a container's edges to get hidden from view, creating a masking effect. The container essentially acts as a cookie cutter, hiding anything outside its set perimeter.
Here's how we use overflow to our advantage.
- We draw a container boundary box over a specific area we want to isolate.
- Toggle "Hide" to only display what visual elements sit inside those set borders.
- Switch back to "Show" to reveal the full versions again.
✍️
Note
Keep in mind that the Overflow setting is only accessible once a container is selected.
Start Animating
Get Started with Our Free, Web-Based Platform.
Learn
© Phase Software GmbH 2025